Showing posts with label Woodcraft. Show all posts

Sunday, June 21, 2020

Finally on the Wall


Well, enough with the waiting.  My shelves are finally on the wall.  
It only took a month.  This area of our family room has turned into Emmalee's painting corner, so I am thinking the hexi shelves will be home to some of the painting supplies and hopefully make the mess a little cuter.  There is no eliminating the mess, just creatively organizing it.


We bought this house in November.  This great-room has a crazy bar in it that entertaining families would love.  We use it to store craft supplies, lol.  There is a working sink down there in the selves and everything.  No drinking going on here.  We have too much crafting to get done.


My two big guys {shelves} got hung on the wall, my little guy you can see below.  I added shelves to him so I could have a little more paint storage....


I didn't put a back on this one, but will be adding a backboard.  When you go to get a paint bottle out of the stack all the other bottles in that triangle fall out the back *Oh My!* so my next Craft Day Thursday I will have to fix that.

Anyway, Mads and I have loved these little shelves, so much so I am afraid to say....

We will be making more!  Thanks for celebrating with me the minor accomplishment of getting these shelves hung up.  Sometimes it is the little things that feel huge when you had to climb mountains to get them done ;0}

Tuesday, June 2, 2020

I have so many things to show you since I posted last!!!  My big kids are keeping me so busy these days, that and the endless yardwork/housework at our new home, but I wanted to show you my hexi shelves!

Mads and I made these a few weeks ago on her birthday.  These are mine, the bigger hexi shelves.  I needed them big to look right in my Great Room.  It has a vaulted ceiling and anything smaller would have looked odd I am afraid.  

The real delight here is that I finally got mine painted white, then, because they were so big I figured I needed to put a backing on the shelves so they are strong enough to hold some weight when I hang them on the wall.  Well....to put a back on them, the most professional way would be to use my handy dandy palm router today to dig out a ledge on the back side for the backboard to sit in.

Here is an up-close view.  I was a bit nervous.  It has been over 3 years since I had my own space to play in.  All my tools were packed away and my life was MISSING THEM!  Routers are serious tools with serious possibilities for injury if used wrong.  After a quick You Tube refresher I hit the garage and just plugged it in.  Once my shelves were routed I was flying high pretty much all day.  It was SO SATISFYING to pull out tools, do something that makes such an obvious difference, and then use a fun vacuum to suck up all the wood shavings {lately one of my favorite parts of woodworking, using my dust collector to suck everything clean}.

I loved the look of the ledge of raw wood against the white painted shelf so much I decided to route the front side too.  I really just love the whole look.

Tonight I re-painted the white of the shelves.  I am honestly thinking of painting the backboard the same color as my walls, because I don't really want a whole block of white.  I like the look of the outline shelves.  I just needed the shelves to be sturdy.  Maybe I will leave the backs a natural wood.  Who knows.  I will have to hold these up to the wall to decide.  Right now they are drying in the garage.  I will be back when these guys are done and on the wall, plus I'll bring photos and stories from our maker day when we made these.

Happy Crafting!

Tuesday, May 12, 2020

My Maddy girl had a plan for her birthday and it was a total delight to me!  
Her one birthday wish was to spend the day creating in the garage.  Both of us had been planning to make some hexagon shelves for weeks, so Maddy's special day was the perfect chance.

Using our sexy new miter saw I cut all the wood pieces while the birthday girl worked on a pegboard project.

We made 3 sizes of shelves.  The largest had sides measuring 12" long, the medium had sides 10" long, and the smaller size had sides 8" long.  I was not prepared for just HOW large the large ones would end up.  I wouldn't recommend that size if you don't have a huge area to hang them in.


We found it easiest to put the pieces together in 2s.  We put wood glue on the shared side,


 Then I held the 2 shelf pieces together and trusted my life to Madison who used a nail gun to finish the job.  We tried painters tape to help hold the wood in place, but it was not that helpful.


She looks innocent, but I wouldn't recommend giving this girl a nail gun!


Here they are all finished.


I like them like snowmen.  I think we have a winter craft idea here.


Now to paint them!  Madison has other crazy ideas.  We will be back to show you more soon.

Wednesday, March 15, 2017

It's About Time

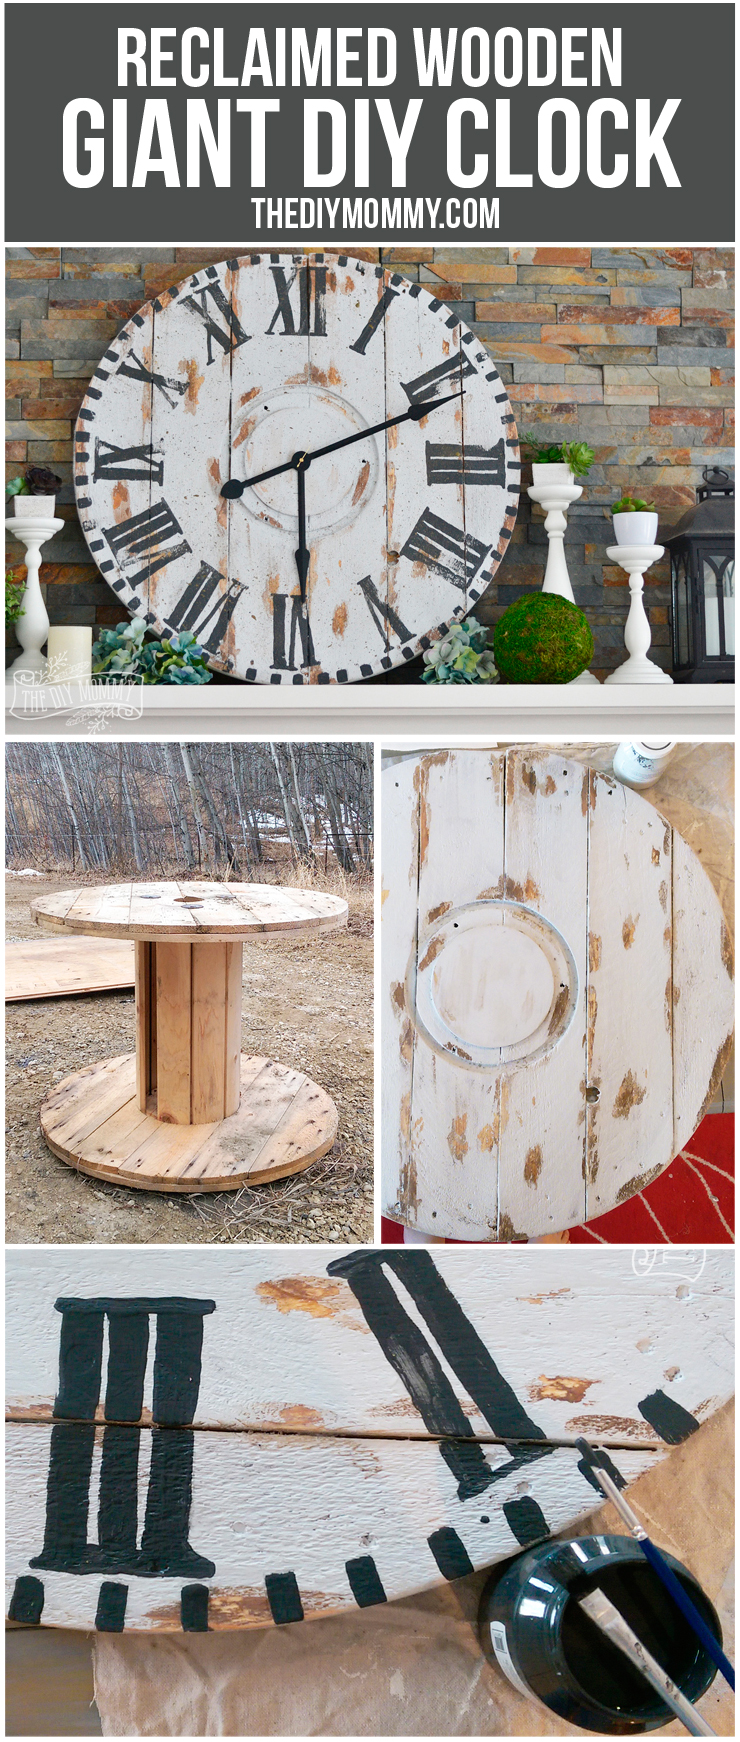
How to make a large DIY reclaimed wood clock from an electrical reel
I think it is about time I get around to making a clock.  They have entranced me so often.  At Hobby Lobby I end up standing there admiring for long stretches at a time.  At craft shows I am always frozen staring at the hand painted pieces...It is about time I make my own.  This is just a round-up of some hand-made clocks that caught my eye after a quick google search...

How to make a large DIY reclaimed wood clock from an electrical reel
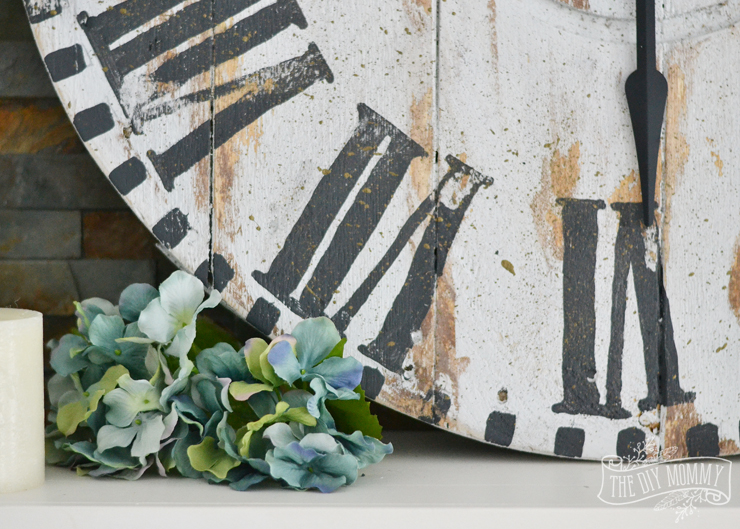
This one is probably my favorite, but I don't have access to huge wooden spools ;0}
This is a great resource for how to make your own clock though.

diy wood working clock
I like the addition of "Berlin" and a year on this one.  I have seen where they put your last name and maybe wedding year on it.  While my kids have a hard time with the Roman Numerals, I love them!

diy wood clock
Uh, call me crazy, but I actually love the look of this one, even without the hands!  It would look cute in my pile of junk corner I have so many antiques displayed in.  May have to make two ;0}

Image result for clock made from reclaimed wood
Super cute!

Image result for clock made from reclaimed wood
I like the funkyness of this clock, but it isn't quite what I was looking for.

LOvE this!

Skeleton key clock. I could make this with a pallet back…
As a door and key addict, this is perfect!  What a great way to make use of antique keys.

diy wood clock
Ugh!  Isn't the metal so cool!?!  Sadly, I have no metalworking skills.

Again with the giant spool.  This is gorgeous.

A rustic windmill clock.
Can't find the actual source for this, but man to I LOvE this!
I saw a giant metal windmill head at a vintage market last year, am still crying inside about not getting to take it home with me.

http://fadedcharmcottage.blogspot.com/
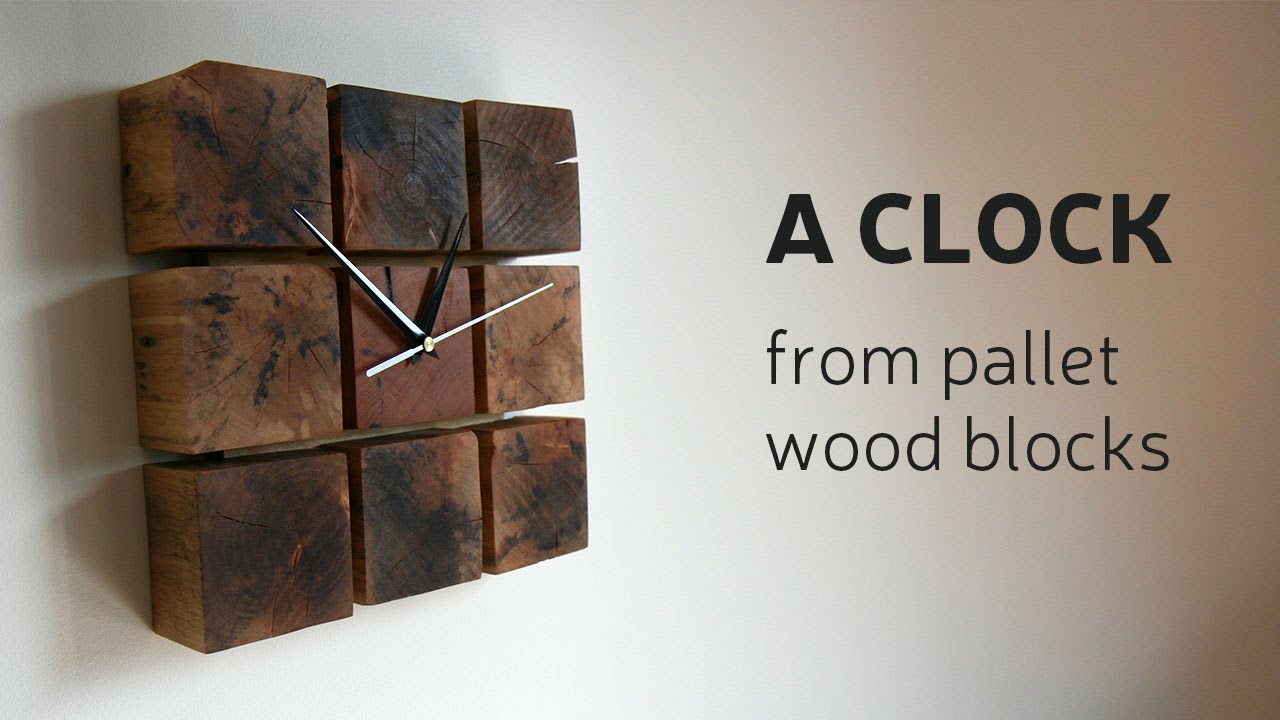
I haven't been loving the square clocks, but this one is fabulous.

great clock above console
Oh how I LOvE you!

how to make this clock from a pallet
This guy is actually from Pottery Barn.  Love the extra text on the clock.

Why not show off your fabulous taste around the clock? Hang Pier 1’s hand-painted wood and wrought iron Oversize Gray Rustic Wall Clock, and let it keep pace just like you do—stylishly.
This one's only $300 at Pier One ;0}

Pallet clock. Husband made it for me for our first Christmas! Size 3ft diameter.
There is one with the family name on it.  So nice.

blue, clock, and town image
This one is funky and cute.  It looks almost like a windmill that was taken apart. 

Large Vintage Wall Clock
From here on out they are all pretty much funky clocks.
License plate numbers

Image result for clock made from reclaimed wood
Naturally, use a bike tire!  Where can I put this?

Old Turntables retro wall clocks
Record player, yes please!

Image result for clock made from reclaimed wood
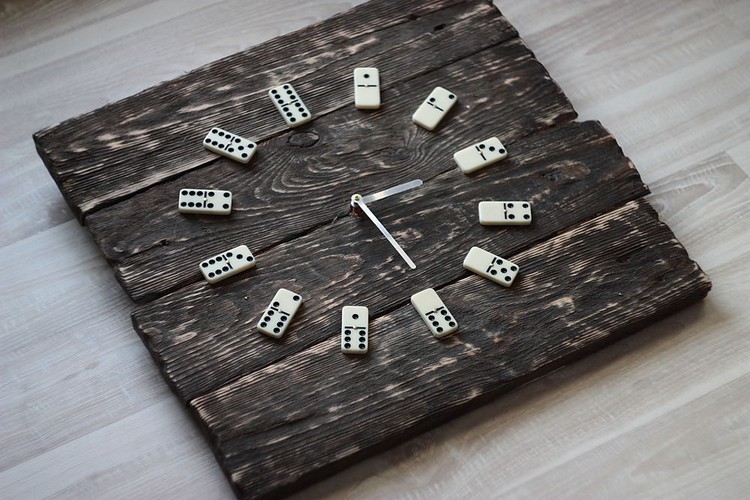
For the game room?

Image result for clock made from reclaimed wood
Beach house?  Bathroom?

Image result for clock made from reclaimed wood
SO COOL!

Image result for clock made from reclaimed wood
And this clock for the fabulous wood weave going on.

I can't get enough of these monogram rounds! I'm currently obsessed with them…
This one is not even a clock, but MAN do I love that!  Too bad my last name starts with C.  It has to be the least creative letter to design with.

OK, well, I better go get making!  Hoping to put the wood together today and get some kind of clock created by the weekend.  

Wish me luck!

Wednesday, March 9, 2016

Working on New Arrivals

I hope you can endure these terrible pictures.  I just wanted to give you a sneak peek at the baby/New Arrival door decor I have been working on.  I have an It's a Girl and an It's A Boy baby bottle and baby rattles.  

I am hoping to add vinyl to these soon and get one off in the mail for a special blog follower-turned-friend of mine.  I do have about 1,200 things planned for tomorrow and I have typically been getting 2 things done in a day, so......we will see how far I get, if I get vinyl on these babies before my photo shoot this weekend.  

Otherwise we will be back next week, with a little luck.

Happy Wednesday!


Novelty Print Quilt Pattern

I have had a hard time finding good quilt patterns for novelty prints the past couple times I purchased them.  I made up this pattern so tha...