{source}
I think it is about time I get around to making a clock. They have entranced me so often. At Hobby Lobby I end up standing there admiring for long stretches at a time. At craft shows I am always frozen staring at the hand painted pieces...It is about time I make my own. This is just a round-up of some hand-made clocks that caught my eye after a quick google search...
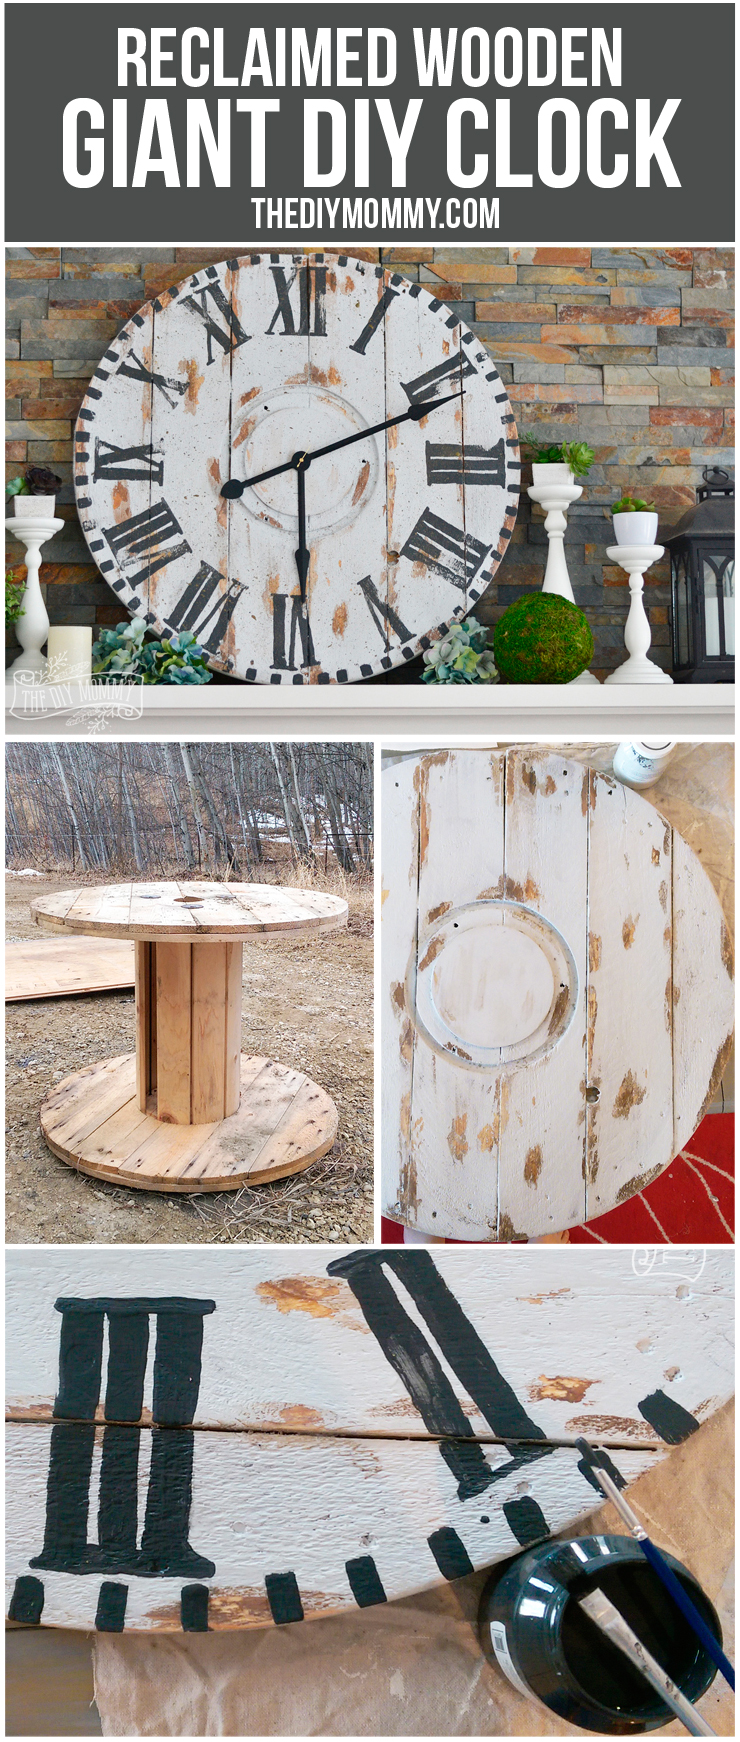
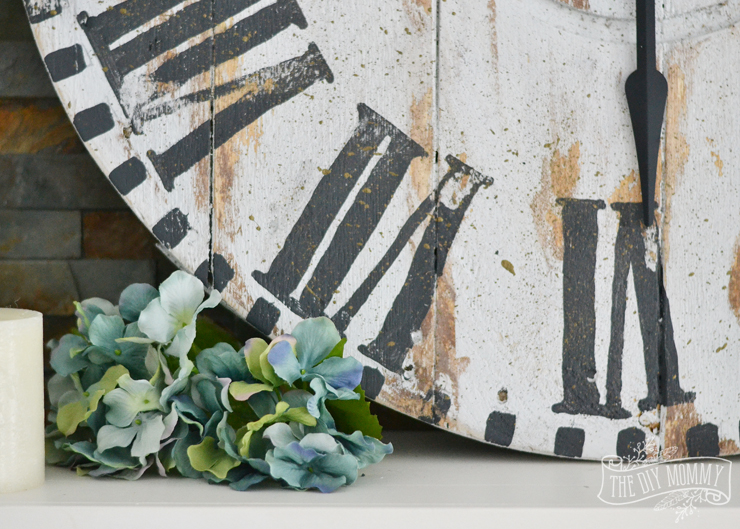
This one is probably my favorite, but I don't have access to huge wooden spools ;0}
This is a great resource for how to make your own clock though.

{source}
I like the addition of "Berlin" and a year on this one. I have seen where they put your last name and maybe wedding year on it. While my kids have a hard time with the Roman Numerals, I love them!

{source}
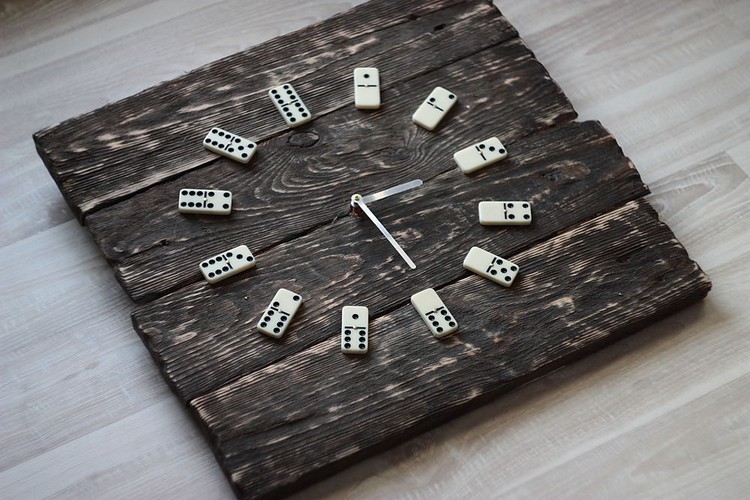
Uh, call me crazy, but I actually love the look of this one, even without the hands! It would look cute in my pile of junk corner I have so many antiques displayed in. May have to make two ;0}

{source}
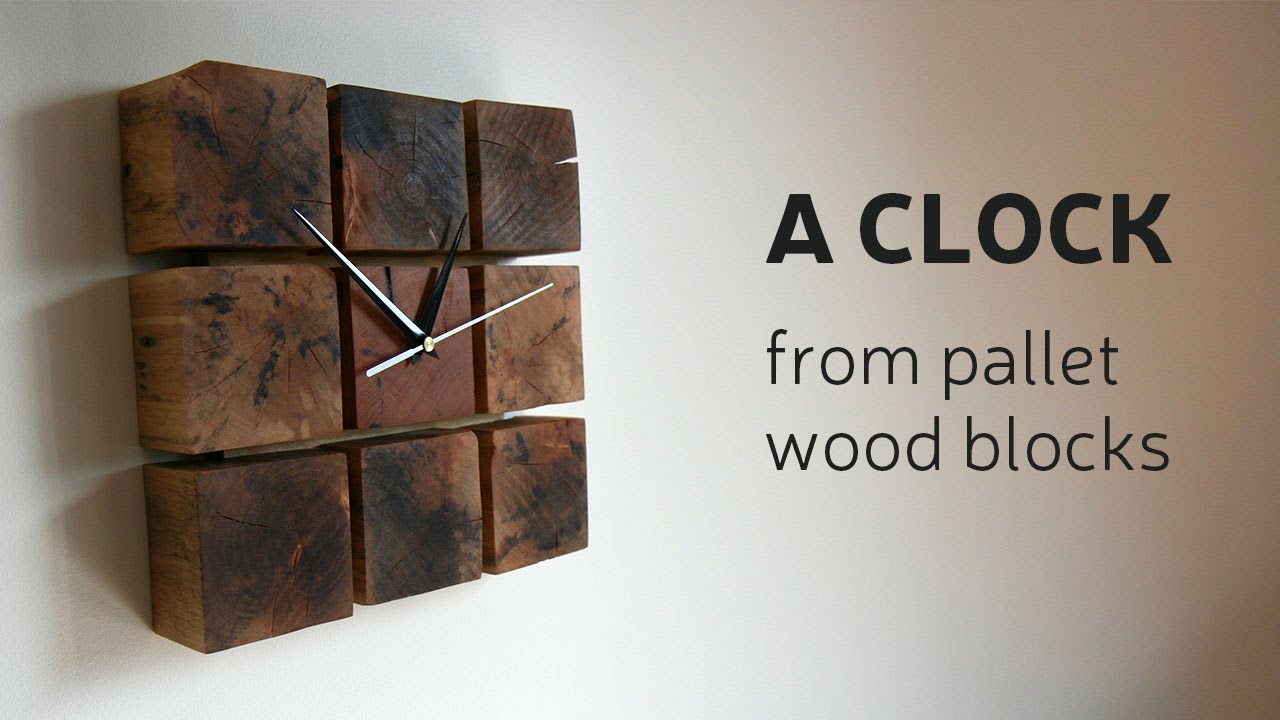
Super cute!

{source}
I like the funkyness of this clock, but it isn't quite what I was looking for.

{source}
LOvE this!

{source}
As a door and key addict, this is perfect! What a great way to make use of antique keys.

{source}
Ugh! Isn't the metal so cool!?! Sadly, I have no metalworking skills.

{source}
Again with the giant spool. This is gorgeous.

{source}
Can't find the actual source for this, but man to I LOvE this!
I saw a giant metal windmill head at a vintage market last year, am still crying inside about not getting to take it home with me.

{source}
I haven't been loving the square clocks, but this one is fabulous.

{source}
Oh how I LOvE you!

{source}
This guy is actually from Pottery Barn. Love the extra text on the clock.

{source}
This one's only $300 at Pier One ;0}

{source}
There is one with the family name on it. So nice.

{source}
This one is funky and cute. It looks almost like a windmill that was taken apart.

{source}
From here on out they are all pretty much funky clocks.
License plate numbers

{source}
Naturally, use a bike tire! Where can I put this?

{source}
Record player, yes please!
{source}
For the game room?

{source}
Beach house? Bathroom?
{source}
SO COOL!

{source}
And this clock for the fabulous wood weave going on.

{source}
This one is not even a clock, but MAN do I love that! Too bad my last name starts with C. It has to be the least creative letter to design with.
OK, well, I better go get making! Hoping to put the wood together today and get some kind of clock created by the weekend.
Wish me luck!


