
I was weeding out a custom order today and thought it the perfect example of how I work my vinyl.

First of all, I use a self healing mat and an exacto knife. I have purchased the hooks and scrapers sold with the electronic cutting machines, but nothing is as sharp as a good old exacto knife. I go through a TON of blades. I like them very sharp in order to work quickly. Guess who caries them??? Everyone! I have recently purchased exacto knives and blades at: Walgreens, Cub Foods {grocery store}, Walmart, Target, Hobby Lobby, Joanns, Michael's, and Home Depot. I never knew before this season of Nativity Vinyl, but exacto knife blades come in different sizes!!! That little factoid is good to know if you are running out to purchase replacement blades. Check to see what size your little handle takes...or just take it with you.
Whatever you do, get one!

The reason why this particular project makes for a perfect example is because it has all sorts of little pieces to pick out. We in the vinyl world call it "Weeding" when you pick out all the unwanted specks of vinyl from your masterpiece. Small letters are something I find particularly vexing, especially for the small ornaments. If you are planing lettering or numbers on your project, prepare for frustration and go ahead and just cut out extras to begin with. More on that later...

Now, just having an exacto knife will do nothing but shred your vinyl. The important thing to know is that you will mostly use the blunt side of the blade. Rarely will you find use for the sharp side.

The next part of that, is that you always want to be behind the vinyl pushing it up...not at the front of the scrap pulling it out. That will just cut the scrap even smaller and make more work for you.
***Disclaimer*** I am left handed! Crazy, I know. Please, please, please try to imagine these hands opposite if you are right handed like the rest of the world.***
I like to start with my least favorite pieces, or the pieces that are the hardest or most annoying to remove out of the way first thing. That is why I chose to remove the VERY thin scraps between the rings of the outer circles shown above and below. Note that I have my exacto knife, blunt side up, pushing the scrap of vinyl out of it's spot.

For a long piece like this, I generally get it poking out of it's home with the knife, then grab it with my fingers and pull it the rest of the way out.

Now, for the little pieces, I just stab them and push them out of place.

For this particular design, I have 8 small pieces inside the nativity area alone. I do not remove each piece from the blade before continuing on...I just keep stabbing until the thing will stab no more. It reminds me of those trash picker-uppers the cartoon characters used way back when...who was that? Daffy Duck...Sylvester and Tweety. I can't remember. I just remember how cool it looked to poke trash with that stick and wished I could be a trash poker some day.
Guess what?!? Dream Realized!
I now get to stab my own little weeds and get paid for it. Ha!

OK, here is my picture showing you all the little pieces all stacked up on my knife blade.

First thing, PLEASE excuse my yucky black spotted nails. I rubbed glaze on a couple glue gun stands today and can never get it all off. Second, when my blade is full, I CAREFULLY grab the vinyl scraps with my finger. Basically I wipe them off onto my finger, again I use the blunt side of the blade. Yes, I have cut myself before. No, not very often. Once you get a big piece of vinyl on your finger, you have a layer of protection from the blade and are pretty safe to keep staking your little "weeds" on top.

I will show you what else you can do with your scraps in a minute. Here I am about to stab the center of that zero.

Stab and push forward/upward. Bam! Cleaned out zero.

That tiny little triangle inside the A???

Stab, lift, done.

So if wiping these little weeds on your finger is just too creepy to you, you can totally press them into the extra vinyl around the outside of your design.

Usually you just have to touch the vinyl and the little bits will just stick.

Alright, once I have the little pieces out, I go for the big ones. It all works in that idea, get the annoying ones first, then feel free to enjoy picking out the big areas. It really is fun. I am telling you, vinyl is addictive! Especially when you get it positioned on your project and see just how fabulous it looks. You won't be able to wait for your next vinyl adventure.

So anyway, notice how I stabbed {remember I am left handed} from the far left edge, blunt edge of the blade up, and pushed the piece out and up. If you are right handed, I would start on the far right edge of the piece and move towards your left. It just works better.

See, now I just add that honken' piece to the tiny stack of weeds already on my finger and keep going.

Stab far edge, push, lift...

OK, go slow around letters. Sometimes they are perfectly still. Other times letters hitchhike with your scraps and the trouble begins. You will be searching through weeds looking for the 1/4" S. Even if you find it, vinyl is extremely stretchy so it is really hard to unstick it without destroying it {if you are using quality vinyl anyway ;0}

Looks good! The coast is clear. Pull the rest of that bad boy off and move on to the other side.


Love it. Add that scrap of missing letters to the pile. I feel like a kid when I look at the scraps where letters once were and want to keep them cause they look cool. Nerd.

Time for the other side. Hold your breath...that's it...keep it coming. Numbers STAY THERE!

Voila! We have a perfect year {snicker} I wish!

When the pile gets a little large you can start a landfill on the table. Just don't push it down too hard or you will be prying vinyl scraps off the table in the end.

There you go! One completed weeding and you didn't even need your gardening gloves.

OK, so I like to work in quadrants when weeding larger sheets like this 12x12 sheet of black vinyl.

Now, when I was picking out one of the next nativities, this pesky little "T" did NOT want to stay put. I pulled the vinyl up slowly, which was good because I was able to see that the T was in motion before things got irreversible.

If this happens to you, once again ignore my dirty craft-tainted fingers, and roll that vinyl scrap back into place. Press everything down, then pull the scrap up again. My T was still lifting up, so I just used my fingernail to hold it down while I removed the scrap. If you dont' have any fingernails to speak of, you can totally use another exacto knife to, kind of laying down on top {blunt side please!} of the letter until you get that scrap up. You may have to go back and slide it back into place.

OK, now I will just show you me going through this sheet like magic. I cheated on this one and did three rows of two instead of keeping to my quadrant plan. What can I say? I am a WILD CHILD!
That is pretty wild to my husband. Engineers. Gotta love 'em!

OK, I turn the vinyl sheet so the next quadrant is under my lamp and then I weed away. Two quadrants done!
Now, I should mention my lamp. I have the best light in the whole wide world. It is pretty close to this one:
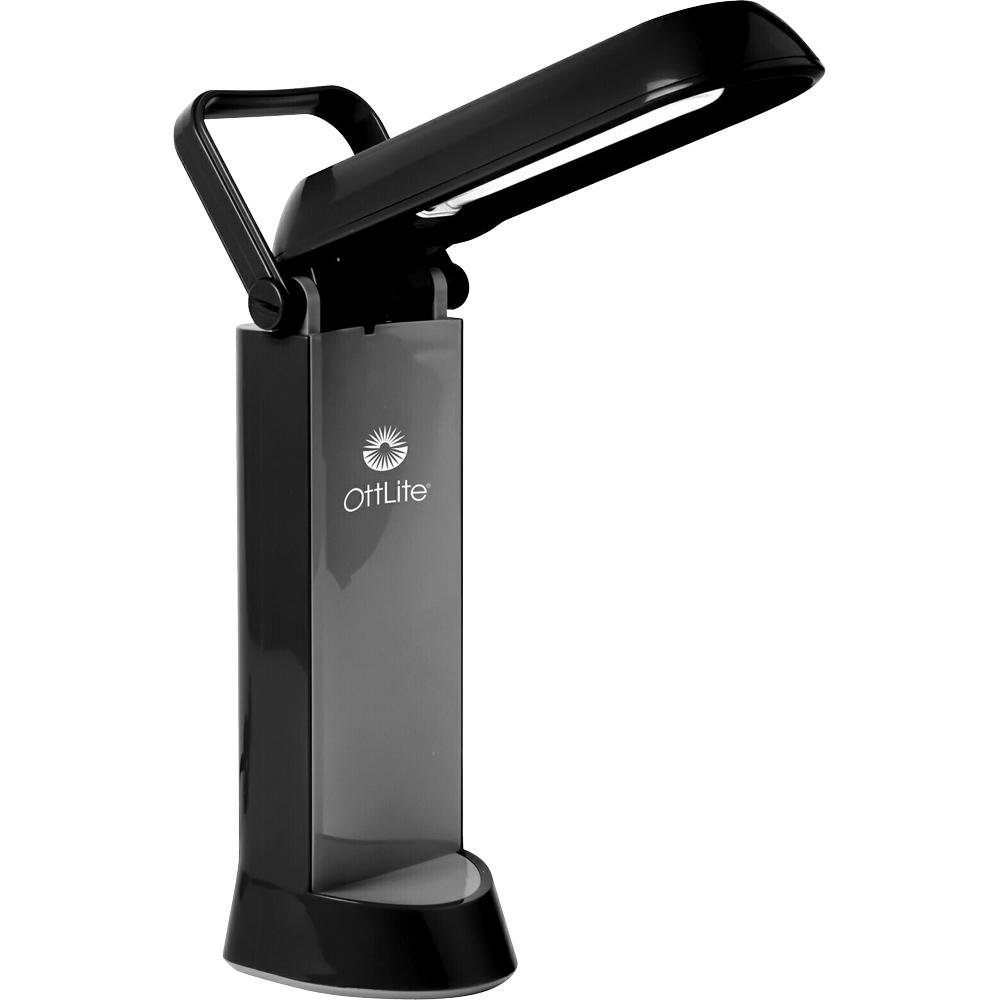
Except it cost only $20 from Costco around Christmas time about 8 years ago. They still get them in about this time of year though. If you don't have one, put that first on your Christmas list. It is totally fabulous. I have a little white extention cord attached to it and just move it around the house about twice daily to whatever work area of choice is the favorite that day.
Anyway, I just shine that above my vinyl work and then I can see things so much better. So, for supplies, you need a self healing mat, an exacto knife, and a good light source, Ott Lite or not. I have found if you position your lamp past your vinyl piece you are weeding, then shine it back toward me I can see the vinyl seams the best. Go ahead. Get even crazier and move that lamp around. You will see what I am talking about.

OK, just two left. Wait for it...

Done!
Awesome. A sheet like this I weed in 5-10 minutes, depending on how many drinks I have to grab for children or how many times I have to get up to answer the door ;-}

Wait! We are not done!!! We have to take the outside scrap off!
I stab with the exacto knife right close to the bottom edge of my project. For some reason the bottom works better than from the top. Like with my manger scenes, there is that pointy star at the top and if I pull the scrap vinyl off from the top I tend to get caught on the stars. It seems to be the same with letters and numbers. They are flatter or wider at the bottom or something so it really does work best to take the scrap off from the bottom. Do I sound like I am babbling now? Wow! It is Way past my bedtime!!!
OK, stab that vinyl, blunt side toward the edge. With this part you really only want to separate the vinyl from the backing so you can grab it and pull it off with your fingers.

Lift slowly making sure everything is staying where you want it. If lifting this whole sheet at one time is too stressful, lightly run your exacto knife from top to bottom between your rows of cutouts before you pull that outer scrap off. It will make rows of vinyl so you don't have to keep track of so many pieces at once. Just don't cut all the way through the backing too. You want a nice square piece for your transfer paper in the end.
*more annoying little facts only I obsess about* Weed out the inside of your letters and numbers first. I have found that if you pull the outer scrap off from around letters and numbers, then try to take the centers out, most of the time the tiny little letters and numbers start sliding an moving all over the place. Just trust me on this. Weeding vinyl has become as normal to me as breathing lately.

Last rule, you must take all your scrap pieces, engulf them in the huge outer scrap you just took off, and roll it up like a ball and throw it at someone. Really. It is an official law. I am a law obeyer.
My husband also loves this about me ;0}

Alright. I am going to bed. I have more to do tomorrow than I ever want to think about. I will, however, come back and show you how to use this stuff. It is called transfer paper or transfer tape, and I will even tell you where I get it. You can't do vinyl without it! At least, you can't do vinyl WELL without it.


No comments:
Post a Comment