Many a months ago I made some old buckets into playroom chairs for my Emmers. This summer I made a new bucket into a cushioned chair for my big girl Madison. Each kid on her pioneer reenactment was allowed only one 5gal bucket for their belongings. The bucket was also to act as their chair whenever the kids were allowed a chance to sit down. I figured if they were going to pull a handcart 20 miles Madison might as well have a soft place to sit.
Here is how I made the round bucket cushion.

Essentially, you need to make a cushion, then attach it to a bucket lid. I started by tracing a template of the inside of this lid, then cutting the template circle out of 1" pine.
I used 1" thick wood instead of a thinner, lighter piece for only one reason- I had 3/4 " screws to screw the two pieces together and if I had used thinner wood the screws would have poked through the wood and made the chair rather uncomfortable.
enough said

Next problem, the edge would be rather uncomfortable on the legs of my exhausted girly, SOoooOOooo, they need to be sanded down.

Here is the 1" wood after a trip to the disk sander.

Much smoother edge. Now that we have a base, it is time to upholster!

I saved the cushions off an old couch before we got rid of it. Can I just say that it was a fabulous idea! I have found 5 or 6 uses for the foam inside those two cushions. Here is one! There happened to be a thin, like 1/2" layer of foam under the 2" layer of batting. I just plopped my wooden base circle on top, traced it onto the foam, then moved the wood and used my rotary cutter to cut the foam/batting out.

OK, here is what I used to make the seat: bucket lid, wood insert, foam/batting topper, scrap fabric for a base layer of fabric, then the top fabric. For super detailed instructions on how I put the layers together, step by step, you can check out my other post HERE. Otherwise, here is the rundown...
Hot glue the foam to the wood circle. Lay the wood/foam on top of the scrap fabric, foam side down, right in the middle of the fabric. Pull one edge of the scrap fabric over wood, staple in place. Pull the scrap over the wood on the opposite side of the circle. Staple. Now grab the scrap in the 3 o'clock position over and staple it to the wood. Do the 9 o'clock position next. Work around the seat in that type of fashion, staple halfway between two staples, then do the opposite side until the whole piece of fabric is pulled tight and secured with staples on the wood side. Now grab the top piece of fabric and do the exact same thing. When you have all the fabric on there, trim all the extra fabric off and you are ready to screw the seat to the lid. In the end, my husband decided we needed to use a screw-top lid instead of the top shown above. If you don't know what I am talking about, they look like this:

I found this picture and listing on Amazon
By using the screw-on lid, the seat was a little easier to get into. We were having a little trouble getting the lid to stay on before, but with the screw-on lid, the threads held the lid in place.
I LOVE these lids, called Gamma Seal lids {just in case you were wondering}.
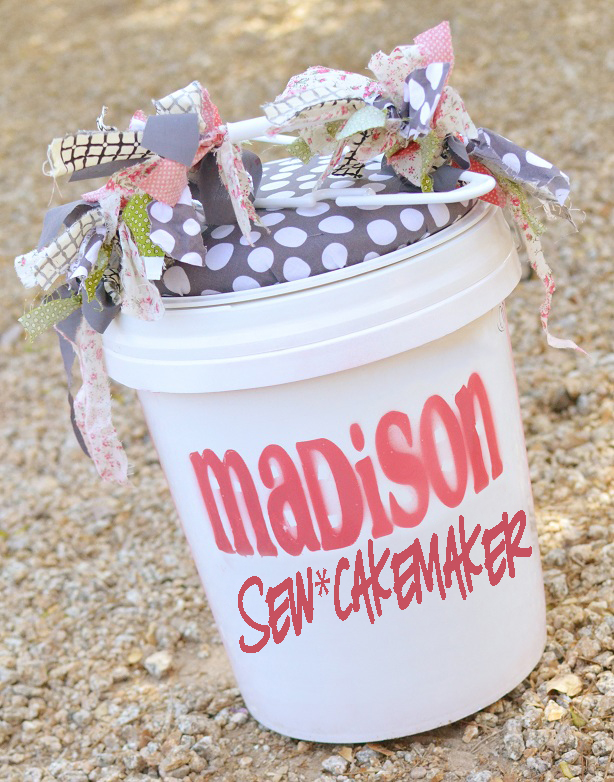
There you have it! We took some of the scrap fabric from her pioneer clothes and added them to the handles for a little more "Madison"ness.

Here is my girly on the Saturday before Trek. We had to bring all of her stuff to an inspection. All of the kids were given a list of "allowed" items and their buckets were inspected to make sure there was no contraband.

I promised a closer look at the clothes I made for Trek. Sadly, with all of our moving I just wasn't able to take better pictures. Here you can see the ruched green skirt, bonnet, and white shirt I made. Madison also insisted on the ruffle underskirt I tempted her with. I started making it, then imagined how hot and heavy the skirt would be. My daughter, the everlasting fashion diva, continued to insist on all the ruffles even with all my warning. She wore the thing the entire three day hike too!

Madison picked fabric to make matching aprons for both of her allowed outfits, but then we got home and realized she was only allowed one apron. There is a way around everything! We made this apron reversible. You can see the other side a few pictures down.

Here is my cute girly just before we said goodbye. Breaks my heart all over again!

Here are a few of the other folks around that early morning.

Don't they all look cute in their pioneer clothes!?! I loved seeing all those boys dressed up in their suspenders and such.

There goes my Maddie Girl. Totally fearful and unaware of the incredible experience that awaited her.

Here is Madison in her other pioneer outfit. I made the grey shirt and pink flowered skirt with ruffles. You can see the pink side of the apron that matches her pink bonnet. It was kinda lucky that she had a second bonnet because there was a girl there without one. Madison was able to loan out her spare and keep one more head out of the sunlight. In the handcart you can see that the bucket seat{well worn} made it triumphantly through the Trek. What a fabulous experience for my girl. She was tried and tested to her limit, then came home knowing that
She CAN do Hard Things!
{But she didn't have to sit on one :0}


I love this, the clothes that you made were beautiful. You can sure tell her Mommy loves her. So fun to see the pictures and imagine what they went thru. Great experience for Madison.
ReplyDeleteLOVE this idea! Just wanted you to know it was featured on our site today: http://www.thedatingdivas.com/food/101-camping-tips-ideas/ Thanks so much for sharing!!! XOXO, The Dating Divas
ReplyDelete