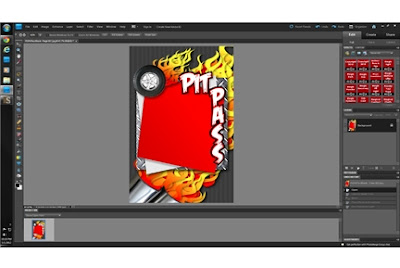
I got a couple requests today for instructions on how to add a photo with Photoshop Elements. I currently have version 9, but hear that a version near that will work pretty much the same. I started by opening, for example, my Pinewood Derby PitPass.
Then I open the photo I want to install.
Choose the cookie cutter tool, then choose the shape from the drop down menu of shapes at the top of the screen {only shows up after you choose the tool}. There are several cool masks that would be fun for the pit pass, but I chose the rounded corner rectangle for this demonstration.
Once you have your shape selected, click where you want the shape to start, then while holding the left mouse button down, drag the shape as large as you want it to be. When you have the shape about the right size and orientation, let go of the mouse button. You should still be able to move that shape around on the picture to make sure you have your picture cropped to your liking. Once everything is as desired, click on the green check mark and the outside scrap will disappear. You will only have white grid-looking stuff outside your picture now. Not sure you like it??? NO problem. Just hit the undo button, backing things up to where everything went wrong, and start again.
Once your picture is cropped the way you want, go back to the graphics page, or in this case, the pit pass. As you can see by the arrows, at the bottom of the screen {or wherever your program shows thumbnails of open files} you can see both the picture file and the pit pass. Now, just move your cursor over the picture of Eli, push the left mouse button and drag the picture onto the graphic, holding the mouse button down until it is in place. When you are dragging the picture, you only see the picture the size of the thumbnail. When you let go of the mouse button, the picture will take it's full size.
You may now notice that the picture you added is not in the right place, and probably not the right size either.
That is easy to fix! Just click on the move tool, shown in the upper left hand side {purplish arrow}, looks like an arrow next to a compass-looking 4 arrow thingy. Yes, very technical language, I know :0)
Once you select the move tool, you can move the picture around on the page wherever you want it, you can stretch it out any which way or rotate it around, then just click the Green arrow, and you are done.
I know that there are more advanced ways to get that picture on the page, like behind the letters and such, but this is a basic way that works great for the beginner!
Let me know if you have any questions or any tips!!!


I love that handsome face in the picture. The post was also very good and knowledgable.
ReplyDelete